Printed backdrops - whether on paper, vinyl or fabric material – are a wonderful way to build a collection of photography backdrops affordably.
For a relatively small investment you can have marble, wood, tiles and more at your fingertips, ready to style and shoot, at only a fraction of the cost of the real thing.
And what’s more your printed backdrops won’t take over your workspace.
They are light and easy to transport and store, no more lugging heavy surfaces between shoots!
Here are a few pointers to help you on your way to creating amazing images with our printed backdrops
Our backdrop sheets are posted rolled in cardboard tubes.
We recommend opening your package as soon as it arrives to allow the backdrop sheets to settle.
Our extra thick vinyl backdrops will jump open and flatten for immediate use.
The paper backdrops can have a soft curve after being rolled but this will relax in a few hours if they are laid flat, face down with a few books on top.
A few small weights (books, rolls of tape etc) or masking tape can also be used to hold your backdrops flat if you want to get started straight away.
If you store your backdrops flat they will always be ready to go!
Different uses for your backdrops
Printed backdrops can be used in lots of different ways.
- As a traditional backdrop (also known as a background), the horizontal surface your subject sits on – so the table if you like.
- As a vertical backdrop or wall behind your subject
- And as an infinity curve or scoop, where you curve the backdrop sheet so it is both the horizontal table surface and vertical wall surface, in one continuous sheet.
We have a whole blog on how to use infinity curves here – it’s a great technique for product and editorial style shots.
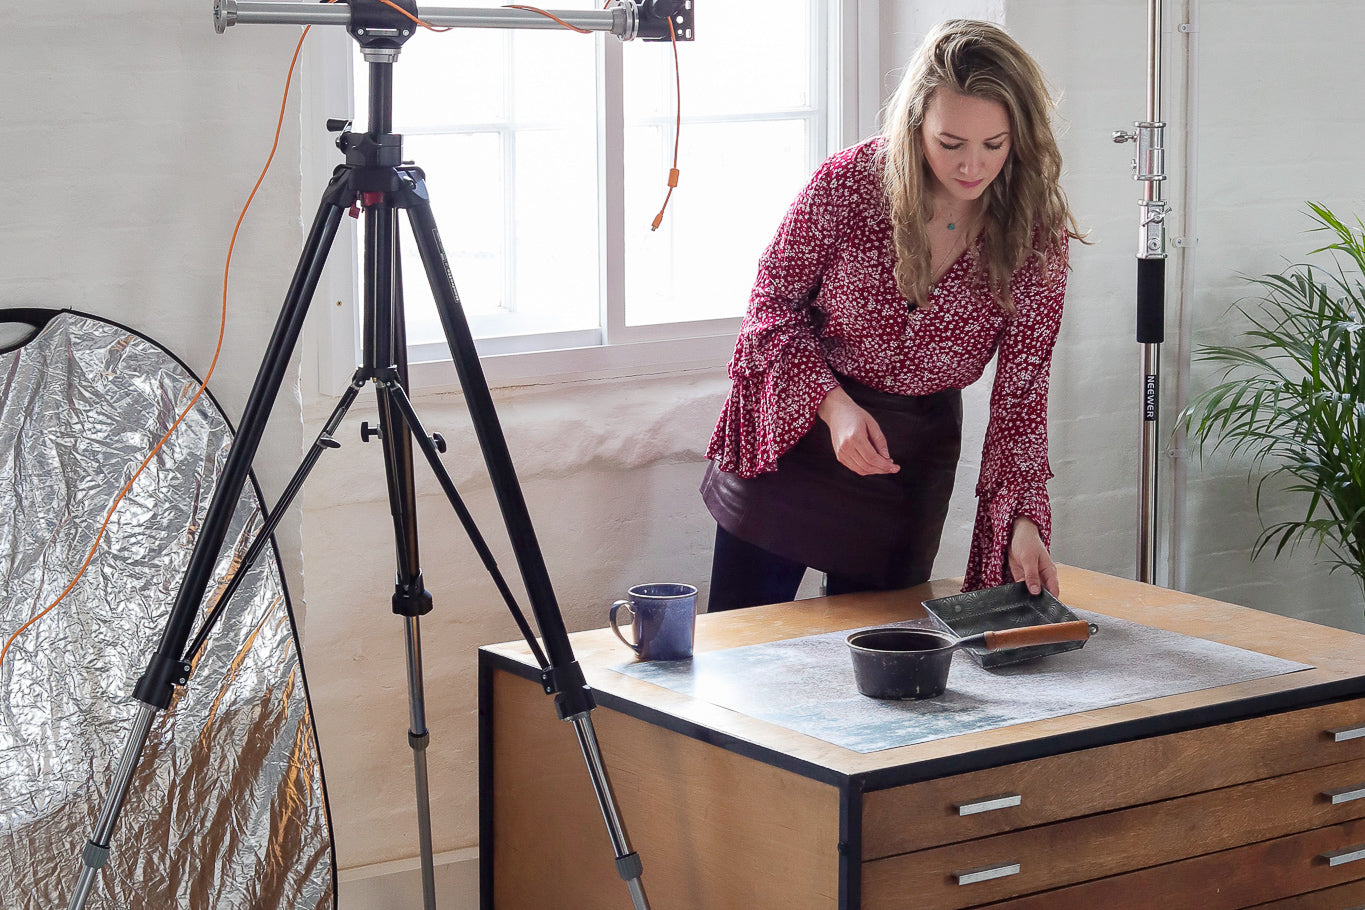
If you want to create a scoop/curve you will need to secure the sheet in place on both the horizontal and vertical surfaces. I use masking tape or weights and boxes as shown below - also a laptop is very handy for leaning backdrops and card against!
Shot on the Utopia sustainable paper backdrop

If you are using your backdrop as the table surface, setting up is as easy as simply laying it flat on a clean, sturdy and level surface.

To hang your backdrop behind your set as a wall you could use masking tape to stick the backdrop to a vertical surface, use grips and a photography 'C' stand or use an overhead stand or a clothes rail with clips.
Shot with the Flaky and Forest backdrops

Personally I like things to be solid so I prefer to tape to a poly board which I can move around as needed.
Here’s another recent set up at Scene Studios shot by Rob Smalley for Belvoir Fruit Farms - we used a stand and clamps for this one.
Shot with the Drip backdrop as the table surface and Safe backdrop as the wall behind

Getting the light right with printed backdrops
Whether you use natural light, or continuous artificial or flash lighting there are a few things to consider when using printed backdrops.
As with any smooth, flat surface there will be a little bit of glare at certain angles or with strong lighting.
These highlights can add to the drama and be part of your aesthetic (like in the cocktail shot above), or you may want to control them.
Darker prints with the most ink will reflect the most light, whereas light prints showing much of the matt surface beneath will look almost completely flat.
To reduce highlights on your backdrop we recommend,
- Using soft, diffused light
Any light source can be softened by using a diffuser, some thin white material (like cheese cloth or bed linen) or tracing/baking paper. This will soften both the highlights and the shadows.
Even though the light is still strong in this image, the shadows are soft - not hard edged. This is a creative choice but harder light will naturally make it harder to control reflections.
Shot with the Salt photography backdrop
- Adding black card to stop light hitting the backdrop where the light is strongest (also known as flags)
I buy A1, A2 and A3 black card to fold in half and pop down the sides of my set when needed. They are particularly useful when using back light if the top edge gets ever exposed and ‘blown out’, loosing its detail.
These two images show the difference made by adding the black 'flag' to the right of the set.
Everything went a little darker but it helped me keep the light more consistent across the surface and the detail in the backdrop on the right hand side, closest to the light source was improved.
Here's the image after editing.
Shot on the Ash black metal effect photography backdrop
- Using low, side light that will illuminate your subject and props rather than the flat surface – but this is a lighting style in its own right, so might not always be suitable
If you forget these tips and then notice highlights on your backdrop try these quick edits –
- In Instagram see if a soft vignette will remove the highlights or play with the 'highlights' slider.
- In Lightroom you could,
- Use the 'Dehaze' slider to remove any haze
- Add a selective gradient or brush area and reduce the exposure, whites or highlights (same as vignetting but only in the selected area)
- Increasing the texture or clarity can also help if you’ve lost detail in the backdrop
Food styling on your printed backdrops
Our backdrops have been designed with food styling and small product photography in mind.
The print quality and detail is high enough to shoot small items on without giving itself away as a print.
Our paper backdrops have some water resistance. The level of durability will depend on the amount of ink in the print – as mentioned before dark backdrops will have more ink protecting the matt paper below, whereas light designs will reveal a lot of the matt paper and not have the same tolerance to moisture.
We recommend leaving wet styling to the end of your set up and only placing food straight on the backdrop for your final shot, then cleaning away straight after.
Our vinyl backdrops are highly waterproof and can stand up to having food and liquids sat on them for a good length of time.
Shot with the Wednesday photo backdrop
All of our backdrop sheets can be turned into solid surfaces by sticking to card, foamboard or wooden boards.
We have a guide and video tutorials coming soon, with step-by-step instructions for using wallpaper paste or spray mount adhesives.
Paper backdrops can also be sealed with a clear, matt varnish to waterproof them.
Care & Storage
To enjoy your backdrops for a long time please protect them from,
- heat – don’t place hot dishes, food, grease or pans straight onto them
- knives and sharp objects – they are strong but not impermeable, please don’t use blades on them
- strongly coloured food or dyes
- direct sunlight for prolonged periods
- frost – please keep at an ambient temperature
Always remove tape carefully and clean any liquids or damp food off your backdrops straight after your shot is completed.
Wipe gently with a damp cloth only – no chemicals or abrasives should be used as these can damage and scratch the print.
Accidentally folding a vinyl backdrop can leave a permanent crease.
Creases can be ironed out of paper backdrops by using a very low heat and laying a tea towel on top of the paper (so the iron doesn’t touch it directly).
We recommend storing your backdrops flat. A plan chest or portfolio case is ideal.
I hope you've found this article useful! You might also like our guide to 5 backdrops perfect for beginners.
Happy styling, here if you need us,
Sophie


