Welcome to April and our next #bvs capture challenge! Enter for your chance to WIN a £100 or £25 voucher
About the #bvs challenge
Our monthly challenges are open to everyone in the creative community, hosted via Instagram, co-hosted by myself (Sophie!) and some of our brand ambassadors – Anna, Suze, Matt or Patrick – plus special guest judges each month.
For each challenge we will share professional styling and photography tips and ideas that follow a monthly theme. The tips and themes explored should be useful in all still life photography - including food, product and lifestyle content.
We hope to inspire our community and be inspired ourselves – I always find it fascinating how people can interpret things differently and use the same theory in lots of different creative ways!
Each month we shortlist four finalists and then the community votes for their winner via Instagram. The winner will get a £100 BVS gift voucher and the runner up will receive a £25 BVS gift voucher.
Plus all winners from January - November will get the chance to be crowned the 2022 overall winner in December!
So let's introduce our April #bvs challenge and guest judge
The April 2022 challenge theme is framing and we're thrilled to have Monica @kitchentimesmonica as our guest judge helping Anna, Suze and I select the finalists.

About our theme - the framing styling technique

Flowers are used in soft focus around the frame to break the edge and give a more three dimensional feeling, inviting you into the image.
#bvsframing
One of my favourite techniques to bring to my styling! Framing can be interpreted in a few ways but the main two are -
- framing the subject/hero
- framing the entire image around the edges
Framing the subject or hero is a technique used to make it more obvious and that normally means bigger in the image. For example - you want to shoot and focus on a cup of coffee like the image below, but you also need a wider shot, so the coffee looks a bit small - the solution could be to add a frame to it, usually bringing in another layer underneath it - a saucer, a plate, a tray, a book, a board - or a mixture of several of them!
So you get a more obvious focal point with the added benefits of layering - more light and shade, more different textures, more ways to tell the story, set the tone and connect with the viewer and also more height depending on the props you choose.
And with a hight difference you get more opportunity to play with the focus and decide how much of your set should be in sharp focus with your hero - this is a real bonus if shooting overhead and you don't want everything to be sharp; some soft areas can be nice to add more feeling of depth.
Framing the image can be even more fun - the edge of a chair, foliage, an arm leaving the shot - these add depth through the image and a sense of realism.
Or you could try simply adding props that drop off the edge of the shot - not intended to be clearly seen, but just adding light and shade, textural interest and tell the story of your food or product.

Subject framing is used here - to make the small cup of coffee more prominent in this wide shot I have framed it, layering a large book underneath to make it the more obvious subject. The extra height from adding the book also helps in lifting the subject to a higher focal point, allowing the lower props and set to drop out of focus, adding more depth and interest to the flatlay (which can sometimes look a bit, er, flat!).
Photography tips for framing
- always check the focus stays on the subject and doesn't jump around
- play with focal depths to see what works - macro lenses are great when using framing techniques
- try darkening off objects used to frame around the edges (hold black card between them and the light) - if they're close to the light source they might be distracting if too bright
Styling tips for framing compositions
- when framing the subject for flatlays try taller layering props like upside-down drawers and boxes that will ready add height so you can focus only on the subject. They will also add interesting shadows for you.
- don't stop at one subject frame - check out Suze's feed for excellent framing ideas with multiple plates, boards, trays and linens
- when framing around the edge of your image try soft and hard props and see which you like - soft/light props might be foliage, linens, glasses etc, hard props would be stronger elements like pans, plates and arms
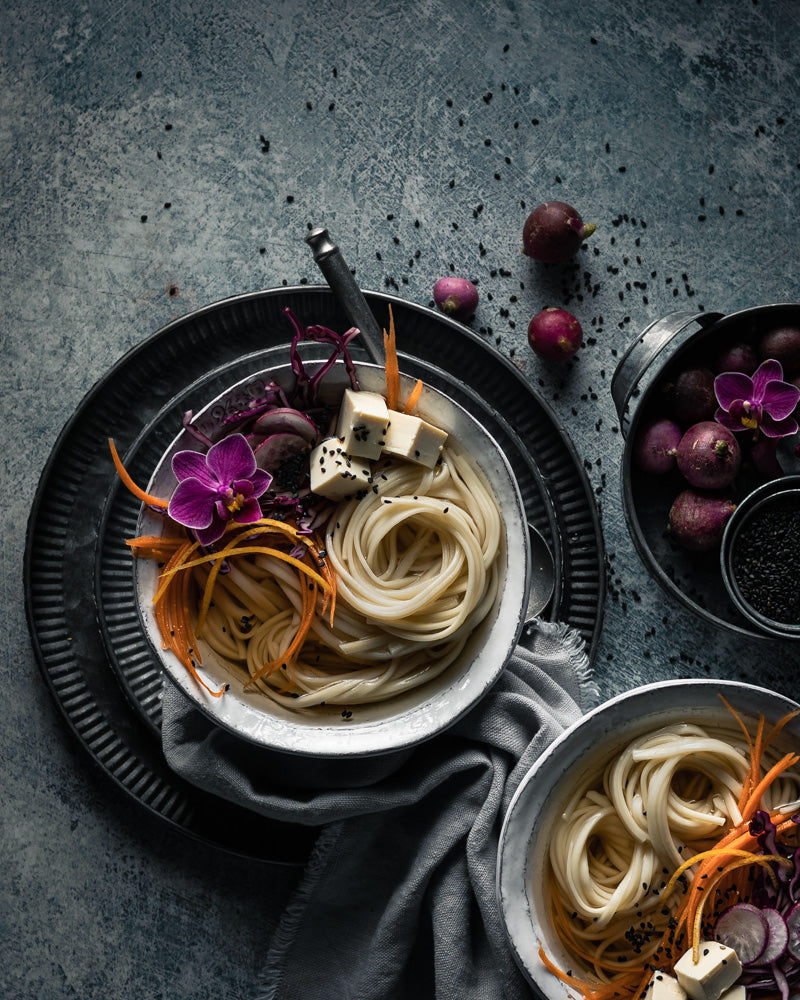
A beautiful shot by Suze creating multiple frames from the trays around her hero bowl of noodles. This makes it a larger subject in the image and the clear focus of the shot even though there are two bowls of noodles. Shot with the 'Tomorrow' printed photography backdrop, available in paper and vinyl.
Editing ideas for editorial photography
- a vignette is a classic framing technique creating a spotlight effect if used strongly - try it to enhance your styled framing
- try gradient or brush masks to darken off any framing props that are too grabby
- use clarity to add texture and detail in layered props if they're out of focus and looking a bit flat

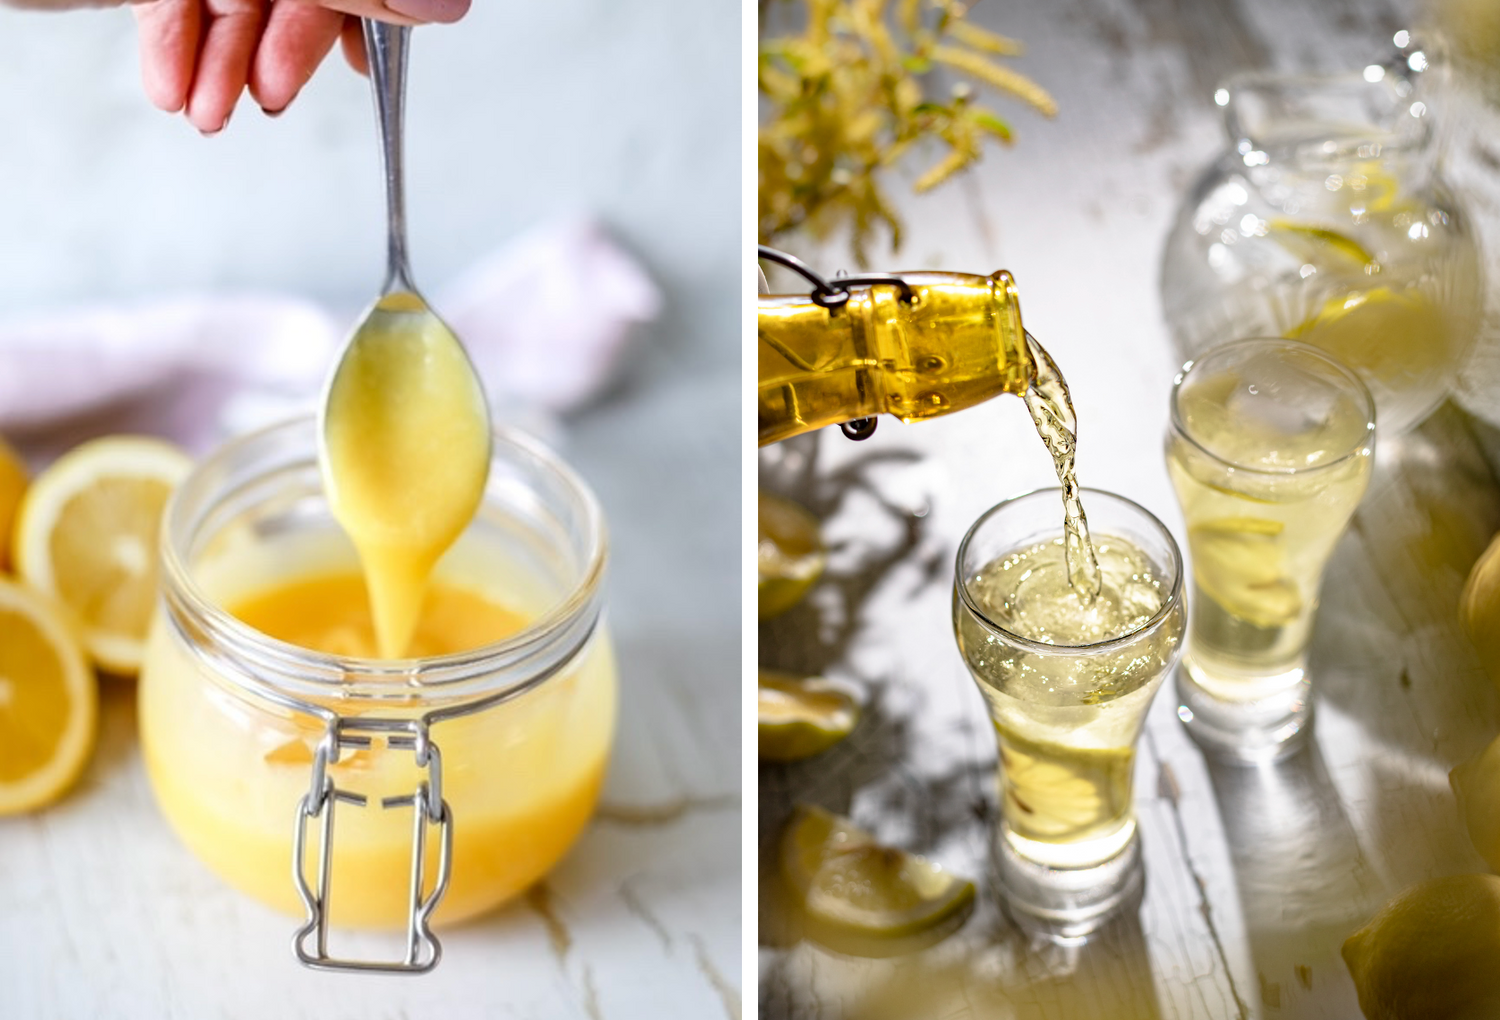
Here Anna has cleverly framed her image using glasses and props similar to the backdrop colour to add texture and shadows without taking attention away from the delicious salad - they add to the story and make us feel like the set up continues outside of the image while still letting the hero shine.
I hope that’s given you some ideas; framing is an easy technique to learn and comes in so handy when you just need a little extra to set the scene and add depth.
How to enter
- Follow all hosts and judges on Instagram -@blackvelvetstyling @anna_janecka @gourmetglow @kitchentimeswithmonica
- Have fun exploring framing styling and photography techniques
- Post between 7th - 25th April 2022 using the hashtag #bvsframing and tagging @blackvelvetstyling
Each entry will be judged on how you’ve used the technique and how you capture the essence of your subject with it.
We look forward to seeing your posts and announcing the four finalists on Instagram soon after the competition closes at midnight on the 25th April 2022.
Good luck!

This image by Suze uses both framing techniques - the marble gives a large centrepiece to sit the cups of hot chocolate on and the blossom used in the foreground and background creates a lovely frame around the entire image.
Competition Rules
Entries don’t have to include our backdrops, our monthly capture challenges are about exploring different techniques.
Entries must stay on your feed for the duration of the competition and judging period if you are a finalist.
Four finalists will be selected shortly after close and announced via our Instagram stories.
The winner and runner up will be voted for by the public via our Instagram stories, this will be live for 24hrs.
The winner and runner up will be announced via our Instagram stories soon after close.
We only need your email address to deliver the prize. We never ask for personal or bank details via email or private messages.
No purchase necessary to enter.
No minimum order necessary on the voucher prizes. They will be valid for 12 months.
Open worldwide.
All decisions are final.
Not in conjunction or affiliated with Instagram in anyway.
Good luck, we can't wait to see your framing ideas!